Are you looking to make a major impact in your kitchen? Consider learning how to paint kitchen cabinets. A pricy kitchen renovation may be out of the question.
Cabinet painting can lighten, brighten and give your space a completely new feel. Want to save money and still achieve a stunning transformation? Painting kitchen cabinets is a straightforward DIY makeover.
Choose the right paint and primer to give your kitchen cabinets a high-quality finish without breaking your budget. This Old House painting expert Mauro Henrique shows host Kevin O’Connor the proper way to paint cabinets for a new, updated look.
How Much Does It Cost to Paint Kitchen Cabinets?
Curious about the cost? Renovating a kitchen can be costly, especially when replacing cabinets, which can take up nearly 40% of the budget.
For a 10-by-12-foot kitchen, new cabinets can easily surpass $5,000. Surprisingly, these new cabinets may not even match the quality of the ones being replaced.
However, painting them offers a budget-friendly alternative. With just a few fresh coats of paint, you can transform your cabinets for around $200, plus a weekend or two of your time. It’s a cost-effective way to give your kitchen a whole new look.
Choosing the right paint
Picking the perfect paint is key. It’s crucial to choose the right paint and primer for your kitchen cabinets. Not all paints are created equal some may not hold up as well over time.
Selecting high-quality paint ensures a durable and long-lasting finish that will withstand daily wear and tear. Quality paint provides a high-quality finish that can withstand the rigors of kitchen use and cleaning.
Types of Paint for Kitchen Cabinets
For kitchen cabinets, consider either latex or oil-based paint. Latex is user-friendly, drying quickly with easy cleanup, while oil-based options offer durability and a smooth finish.
Before diving into the details, let’s explore the different types of paint available for kitchen cabinets. Understanding your options will help you make the best choice for your project.
Latex Paint
Latex paint is water-based, making it easy to clean up with water and soap. It dries quickly, allowing for faster recoating and reducing downtime during the painting process.
Latex paint emits fewer fumes and odors compared to oil-based paints. This makes it a preferable option for indoor use.
Oil-Based Paint
Oil-based paint provides a durable finish that is resistant to stains and wear. It offers a smoother and more even finish compared to latex paint.
However, it requires longer drying times and clean-up with mineral spirits. Oil-based paint is favored for its durability and smooth finish. That makes it a popular choice for kitchen cabinets.
Brush or Spray Paint
Deciding between brush and spray paint depends on your skill level and desired finish. Brush painting offers more control and is suitable for small areas, while spray painting provides a smoother finish but requires more equipment and skill.
Here are some points to consider to guide you better:
- Sprayed-on finish offers the smoothest option for painting cabinets.
- There’s a learning curve associated with proper spraying technique.
- Renting spray equipment can increase costs.
- Masking off areas in the kitchen is time-consuming.
- Using high-quality brushes is recommended instead.
- Invest in a 3- to 4-inch-wide square brush for large, flat panels.
- Acquire a 2½- or 3-inch-wide angled brush for corners and door frames.
- Use synthetic bristle brushes for latex paint and natural bristle brushes for oil-based paint.
How much paint is required to paint kitchen cabinets?
To determine the amount of paint needed, measure the surface area of your cabinets. Typically, one gallon of paint covers around 350 square feet.
Consider factors like the number of coats and the type of paint you’re using. Buying a bit extra ensures you have enough for touch-ups and unexpected needs.
In nonrenovation speak, that means one gallon will cover a medium to large kitchen with over 20 cabinets. Ehrlich says that estimates can vary, depending on sheen and color choice.
Kitchen cabinet painting materials you will need
There are some outlines of the essential materials for painting kitchen cabinets:
- Painter’s tape
- Trisodium phosphate (TSP) heavy-duty degreaser
- Wood filler
- Surface cleaner
- Liquid sandpaper or fine grit sandpaper
- Multisurface primer here or here
- Urethane trim enamel
- Paint sprayer (here, here, here, or here)
- Flock foam roller
- Drop cloths
Can you just paint over cabinets or should you strip them?
You might be wondering if you can simply paint over them or if stripping is necessary. Generally, it’s best to strip cabinets down to the bare wood before painting for optimal results.
If the existing paint is in good condition and adhering well, you can often get away with painting over it. Keep in mind that proper preparation is key to ensure a long-lasting finish, regardless of whether you strip the cabinets or not.
How to Paint Kitchen Cabinets Without Stripping
Painting kitchen cabinets without stripping them can save time and effort. Start by thoroughly cleaning the cabinets to remove grease and dirt. Next, sand the surfaces to create a rough texture for better paint adhesion.
Use a quality primer to ensure the paint adheres well and lasts longer. Finally, apply the paint in thin, even coats, allowing each layer to dry completely before adding the next.
Regular or faux finish?
The main difference between a regular and a faux finish lies in their appearance and application technique.
- Regular finishes provide a standard, uniform look without any special effects, while faux finishes mimic the appearance of other materials or textures, such as wood grain, marble, or stone.
- Faux finishes often require specialized techniques and tools to achieve the desired effect, whereas regular finishes are typically applied with a straightforward painting process.
- Regular finishes are suitable for those seeking a clean, consistent appearance, while faux finishes are chosen for their ability to add depth, texture, and visual interest to surfaces.
Select Kitchen Cabinet Primer
When selecting a primer for kitchen cabinets, opt for a high-quality product specifically designed for use on cabinets and trim.
- Choose a primer that offers excellent adhesion to the surface and provides a smooth base for paint to adhere to.
- Look for a primer that blocks stains and seals porous surfaces, ensuring a uniform finish and preventing bleed-through of any existing stains or discolorations.
- Consider using a primer with low odor and easy cleanup, especially if you’re working in an enclosed space like a kitchen.
Ultimately, the primer you choose will play a crucial role in the longevity and quality of your cabinet paint job, so invest in a reputable product that meets your specific needs.
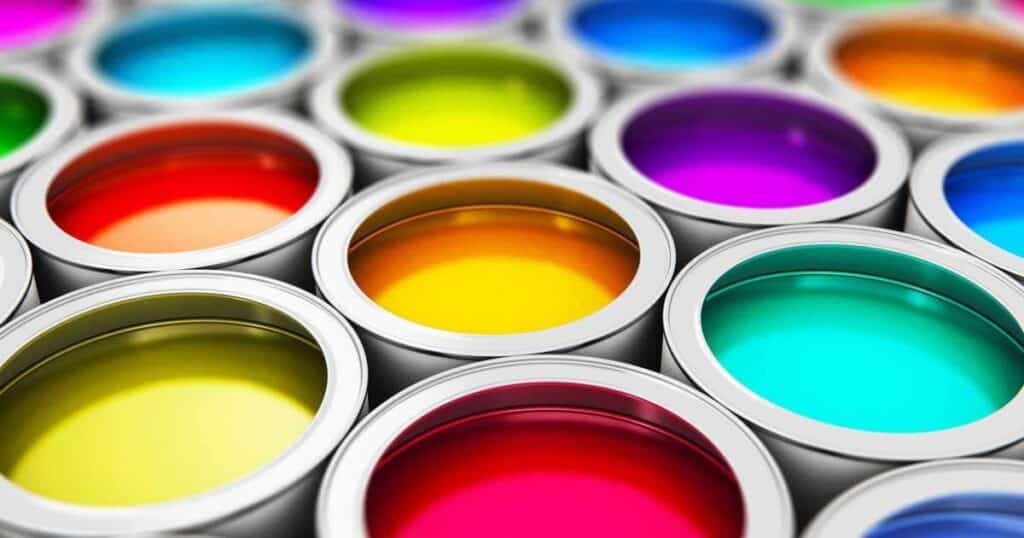
Select Kitchen Cabinet Paint Color
Choosing the right paint color for your kitchen cabinets can dramatically impact the overall look and feel of your space.
Consider the style of your kitchen, the existing color scheme, and your personal preferences when selecting a cabinet paint color.
Opt for lighter shades to create a sense of spaciousness and brightness, or go for bold hues for a striking, modern look.
Sample different paint colors on small sections of your cabinets to see how they look in various lighting conditions before making your final decision.
Safety Considerations
When painting kitchen cabinets, safety should always be a top priority. Ensure proper ventilation in the workspace by opening windows and using fans to minimize exposure to paint fumes.
Wear appropriate personal protective equipment such as gloves, goggles, and a mask to protect your skin, eyes, and respiratory system from chemicals and airborne particles.
The Tools You Need to Paint Cabinets
Before you start painting your cabinets, it’s essential to gather all the necessary tools and equipment.
Equipment / Tools
Here are some tools you’ll need to ensure a successful cabinet painting project.
- Paintbrushes: Invest in high-quality brushes, including a square brush for large, flat panels and an angled brush for corners and door frames.
- Paint Roller: Use a foam or microfiber roller for faster application on large areas like cabinet doors.
- Painter’s Tape: Essential for masking off areas you don’t want to paint, such as countertops and appliances.
- Drop Cloths: Protect your floors and countertops from paint spills and splatters.
- Sandpaper: Use medium-grit sandpaper to roughen surfaces for better paint adhesion.
- Tack Cloth: Use to wipe down surfaces after sanding to remove dust and ensure a clean surface for painting.
- Crewdriver: Needed for removing cabinet hardware and hinges before painting.
- Paint Tray: Use for pouring and loading paint when using a roller.
- Paint Stirrer: Essential for thoroughly mixing paint before use.
- Bucket: Use for water or cleaning solution when cleaning surfaces before painting.
- Safety Equipment: Gloves, goggles, and a mask to protect yourself from chemicals and fumes.
- Ladder or Step Stool: Necessary for reaching high cabinets and shelves safely.
- Clean Rags: Use for wiping surfaces clean and for cleaning up spills.
- Primer: Depending on your chosen primer type, you may need a brush, roller, or sprayer for application.
- Paint: Choose a high-quality paint suitable for cabinets, along with the appropriate applicator.
Materials
Before diving into the details, let’s explore the essential materials required for painting kitchen cabinets. These materials play a crucial role in achieving a professional-looking finish.
Here are the key materials you’ll need for painting kitchen cabinets:
- Degreaser: Essential for removing built-up grease and grime from cabinet surfaces, ensuring proper adhesion of the primer and paint.
- Primer: Acts as a base coat, providing a smooth surface for the paint to adhere to, enhancing durability, and preventing stains or discoloration.
- Paint: The main color component for transforming the appearance of the cabinets, available in various finishes such as matte, satin, or gloss.
- Wood Filler: Used to fill in any cracks, holes, or imperfections in the cabinet surfaces, ensuring a smooth and uniform finish after painting.
Steps for Painting Cabinets
Before you start painting your kitchen cabinets, it’s important to take some preparatory steps to ensure a smooth and successful process.
Prep the room
Prepping the room is the first step in any painting project. Clear the space of any obstacles and cover surfaces you want to protect. Proper preparation ensures a smooth and efficient painting process.
Ensure proper ventilation and adequate lighting in the room before you begin painting. Taking time to prep the room will make the entire painting process easier and more enjoyable.
Paint Backsplash Wall (Optional)
If you want to give your kitchen a cohesive look, consider painting the backsplash wall to complement your newly painted cabinets.
Before you begin, make sure to properly prepare the surface by cleaning it and applying primer if necessary.
Then, choose a paint color that coordinates well with your cabinet color scheme to tie the whole look together.
Remove Cabinet Doors and Hardware
Carefully unscrew and remove all cabinet doors and hardware using a screwdriver and a drill if necessary. Keep track of all screws and hardware in labeled bags to facilitate reassembly later on.
Ensure to organize the hardware and screws in labeled bags for easy identification during reinstallation. Place the bags inside the cabinets to keep them safe and accessible.
TIP: Set Up a DIY Paint Station
Setting up a DIY paint station involves creating a dedicated workspace with adequate ventilation and lighting. Use tarps or drop cloths to protect the surrounding area from paint splatters and spills.
Remove the drawers and shelves
Before painting, it’s essential to remove drawers and shelves from the cabinets. This ensures thorough and even coverage during the painting process.
Removing drawers and shelves allows for easier access to the cabinet surfaces, making it simpler to paint them evenly. It also prevents accidental paint drips or spills on the drawers and shelves.
Clean all the surfaces
Cleaning all surfaces ensures that the paint adheres properly and provides a smooth finish. It removes dirt, grease, and other residues that could interfere with the painting process.
After cleaning, make sure to let the surfaces dry completely before proceeding with priming and painting.
Use a solution of trisodium phosphate (TSP) and water for effective cleaning, especially in areas prone to grease buildup.
Prep the boxes
Clean the cabinet boxes thoroughly using a degreaser to remove any built-up grime or residue. Allow the surfaces to dry completely before proceeding with the next steps.
After cleaning, lightly sand the surfaces to create a slightly rough texture, which will help the primer adhere better. Be sure to wipe away any sanding dust with a tack cloth before priming.
Prime the cabinet boxes
Apply a coat of primer evenly to all surfaces of the cabinet boxes using a paintbrush or roller. Primer helps the paint adhere better and provides a uniform base for the paint color.
Allow the primer to dry completely before proceeding with the painting process. Ensure the primer is specifically designed for use on kitchen cabinets to achieve the best results.
Sand, caulk and fill
Make sure to use fine-grit sandpaper for a smooth finish. Remove any dust before proceeding with painting. Apply caulk sparingly to avoid excess buildup.
Allow it to dry completely before moving on to the next step. For filling any holes or imperfections, choose a wood filler that matches the color of your cabinets for seamless blending.
Apply Primer-Sealer
Before painting, it’s crucial to apply a primer-sealer to the cabinet surfaces. This helps to seal the wood, ensuring better adhesion and a smoother finish for the paint. Using a high-quality primer seal also helps to block stains and imperfections.
It creates a uniform surface for the paint to adhere to. Make sure to choose a primer-sealer that is compatible with the type of paint you’ll be using for the best results.
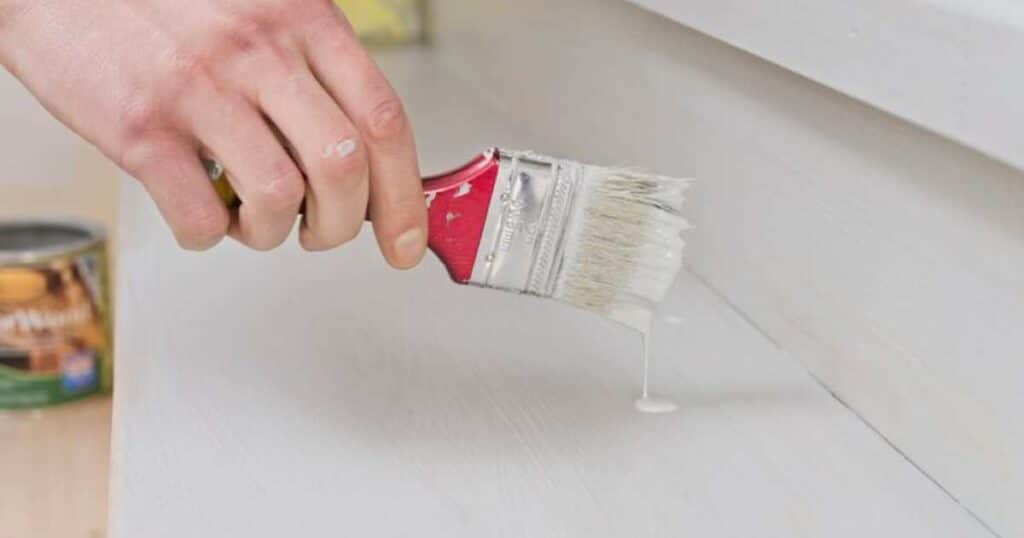
Paint the cabinet boxes
When painting the cabinet boxes, ensure even coverage by applying thin coats of paint. Allow each coat to dry thoroughly before applying the next one.
Be patient and take your time to achieve a smooth and professional finish. Use a high-quality brush or roller. Apply the chosen paint color evenly to the cabinet boxes, ensuring full coverage and a smooth finish.
Prep, prime, and paint the doors, drawers and shelves
Before painting the doors, drawers, and shelves, prep the surfaces by cleaning and sanding them. Then, apply a coat of primer to promote paint adhesion and durability.
Once the primer is dry, paint the surfaces with your chosen color, using even strokes for a smooth finish. Allow the paint to dry completely before reattaching the hardware and reinstalling the components.
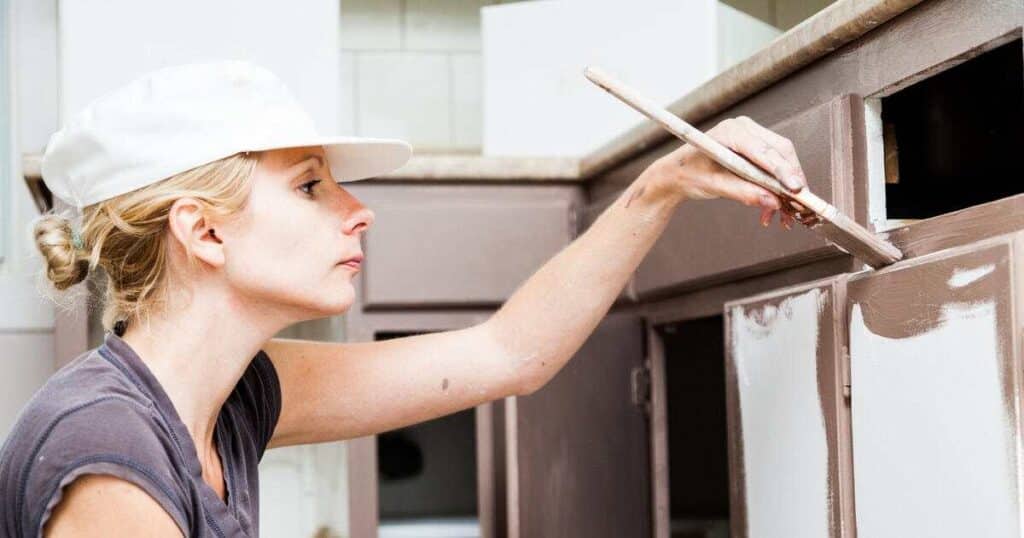
Paint Kitchen Cabinet Frame and Rails
When painting kitchen cabinets, don’t forget to tackle the frame and rails. These are the structural components of the cabinets that provide support and stability.
Use a brush or roller to apply paint evenly to these areas, ensuring full coverage and a uniform finish. Pay attention to detail and take your time to achieve professional-looking results.
Paint Kitchen Cabinet Sides
When painting kitchen cabinets, don’t overlook the sides. These visible surfaces contribute to the overall appearance of your cabinets.
Use a brush or roller to apply the paint evenly, working in smooth, overlapping strokes. Take care to cover all areas completely for a seamless finish.
Put back all the pieces
Once the paint has dried completely, it’s time to reassemble your cabinets. Reattach the doors, drawers, and shelves using the hardware you removed earlier.
Take your time to ensure everything is aligned properly for a professional-looking result. Ensure that all the pieces fit snugly and that the hardware is securely fastened to avoid any issues later on.
Decide on a Finish
Once you’ve painted your cabinets, consider the finish you want to achieve. Matte finishes offer a subtle, low-sheen appearance, while gloss finishes provide a more reflective and durable surface. Choose the finish that best suits your aesthetic preferences and maintenance needs.
Tips for Success
- Take Your Time: Rushing through the painting process can lead to mistakes and subpar results. Take your time and pay attention to detail for professional-looking cabinets.
- Choose the Right Paint: Consider factors such as durability, finish, and ease of application when selecting paint for your cabinets.
- Proper Ventilation: Ensure adequate ventilation in your workspace to minimize fumes and promote drying.
- Protective Gear: Wear appropriate protective gear, such as gloves and a mask, when handling paints and chemicals.
- Clean-Up: Properly dispose of used materials and clean up your workspace to maintain a safe and organized environment.
Create a well-ventilated workspace and lay down protective coverings to safeguard your countertops, floors, and surrounding areas from paint splatters and spills.
Also Read This Post:
FAQ’s
Can I just paint over my kitchen cabinets?
Yes, you can paint over your kitchen cabinets, but it’s essential to prep them properly for the paint to adhere well.
What kind of paint do you use on kitchen cabinets?
For kitchen cabinets, it’s recommended to use either latex or oil-based paint, depending on your preference and the desired finish.
Do I need primer to paint kitchen cabinets?
Yes, using a primer is crucial before painting kitchen cabinets as it helps the paint adhere better and ensures a more durable finish.
Do I have to sand cabinets before painting?
Sanding cabinets before painting is generally recommended to roughen the surface and promote better adhesion of the primer and paint layers.
Final Thoughts
Painting kitchen cabinets is a cost-effective way to refresh your kitchen’s appearance without breaking the bank. With the right tools, materials, and techniques, this DIY project can yield professional-looking results.
Remember to choose high-quality paint and primer, and don’t skip important steps like cleaning, sanding, and priming.
Whether you opt for latex or oil-based paint, proper preparation is key to achieving a durable and long-lasting finish.
By following these guidelines and exercising patience, you can transform your kitchen cabinets and breathe new life into your space.