Waiting for oil-based paint to dry can derail your entire renovation timeline. One wrong move during the drying process leads to smudges, uneven texture, or peeling that requires complete repainting. This frustration multiplies when working on large surfaces or multiple coats.
Many DIY painters and professionals struggle with conflicting information about drying times. Temperature, humidity, ventilation, and application thickness all impact how long you’ll need to wait before applying the next coat or moving furniture back.
Understanding Oil-Based Paint Basics
Oil-based paints remain a trusted choice for durability and finish quality since their development in the early 1900s. These paints combine natural or synthetic oils with color pigments and resins to create a robust coating that stands the test of time.
What Is Oil-Based Paint?
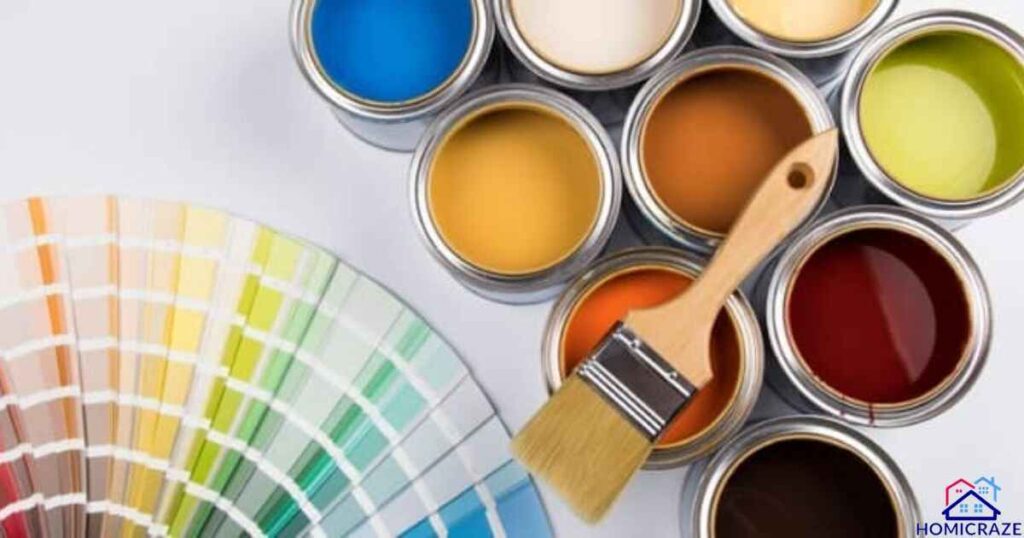
Oil-based paint consists of pigments suspended in an oil-based solution, typically linseed oil or synthetic alkyd. Modern formulations, refined since 2020, contain advanced resins that improve durability. These paints excel on wood trim, doors, cabinets, and metal surfaces due to their hard-wearing finish. The composition includes three main elements: drying oils (linseed or soybean), resins for binding, and pigments for color. This combination creates a paint that penetrates deeply into surfaces, offering superior adhesion and a smooth, professional finish.
The Science Behind Paint Drying
The drying process of oil-based paint involves a fascinating chemical reaction called oxidation. When exposed to air, the oils in the paint react with oxygen, creating a solid film. Recent studies in 2023 revealed that this process occurs in two distinct phases. First, the solvents evaporate, leaving the oils and resins behind. Then, these remaining components undergo oxidation, gradually hardening into a durable finish. This complex chemical process explains why oil-based paints take longer to dry than water-based alternatives but result in a more resilient coating.
Oil-Based Paint Drying Timeline
Understanding the complete drying timeline helps prevent common application mistakes and ensures lasting results.
Touch Dry vs. Recoat vs. Fully Cured
Oil-based paint progresses through three distinct drying stages. Touch dry occurs within 6-8 hours, when the surface no longer feels tacky. The recoat stage arrives after 24 hours, allowing for additional layers. Full curing, the final stage, takes 7-14 days based on environmental conditions. Recent testing by paint manufacturers in 2024 confirmed these timeframes remain consistent across major brands. Understanding these stages prevents premature furniture placement or cleaning that could damage the finish.
Standard Drying Times for Different Surfaces
Different materials affect how quickly oil-based paint dries. Here’s a comprehensive breakdown based on 2024 industry standards:
| Surface Type | Touch Dry | Recoat Time | Full Cure |
| Wood | 4-6 hrs | 24 hrs | 7 days |
| Metal | 6-8 hrs | 24-48 hrs | 10 days |
| Drywall | 6-8 hrs | 24 hrs | 7 days |
| Concrete | 8-10 hrs | 48 hrs | 14 days |
These timelines assume ideal conditions of 70°F temperature and 50% humidity. Surface preparation and paint thickness also influence these drying periods significantly.
Comparing Paint Types
Modern paint technology has evolved significantly since 2020, offering diverse options for different project needs.
Oil-Based vs. Water-Based Paint Drying Times
A 2024 industry study reveals significant differences in drying times between these two common paint types:
| Paint Type | Touch Dry | Recoat Time | Full Cure |
| Oil-Based | 6-8 hrs | 24 hrs | 7-14 days |
| Water-Based | 1-2 hrs | 4 hrs | 24-48 hrs |
Water-based paints dry through simple evaporation, while oil-based paints require chemical curing. This fundamental difference explains why oil-based paints take longer but provide a more durable finish.
Quick-Drying Alternatives: Shellac and Lacquer
Fast-drying alternatives have gained popularity since 2023. Shellac dries within 30 minutes and fully cures in 3 hours. Lacquer dries even faster, reaching touch-dry status in 15 minutes. These alternatives work best for small projects and furniture. However, they require careful application due to their quick-setting nature.
Environmental Factors Affecting Drying Time
Understanding environmental conditions has become crucial for successful paint application in changing climate conditions.
Temperature Impact
Paint manufacturers in 2024 specify optimal temperature ranges for drying:
- Below 50°F: Paint becomes too thick, leading to uneven application
- 50-70°F: Extended drying times but good results
- 70-90°F: Ideal drying conditions
- Above 90°F: Risk of paint drying too quickly, causing bubbles and imperfections
Humidity Levels
Recent research shows humidity significantly affects drying time. The ideal range falls between 40-50% relative humidity. Higher humidity levels extend drying time by up to 300%. Paint applied in 70% humidity takes three times longer to dry than in 40% humidity conditions.
Ventilation Requirements
Proper air circulation dramatically impacts drying time. Modern ventilation guidelines from 2024 recommend maintaining air movement of 100 cubic feet per minute for optimal drying. Good ventilation reduces drying time by up to 25% and prevents toxic fume buildup.
Read This Blog: Eco-Friendly Carpet Cleaning: A Complete Guide
Application Factors
The way you apply paint directly influences its drying time and final appearance.
Paint Thickness
Recent testing reveals optimal paint thickness for different surfaces:
| Surface | Ideal Thickness | Drying Time Impact |
| Wood | 4-6 mils | Standard time |
| Metal | 2-4 mils | -25% drying time |
| Drywall | 3-5 mils | Standard time |
Exceeding these thicknesses can double drying time and risk paint sagging.
Color Considerations
Dark colors contain more pigments than lighter shades. Paint scientists in 2023 discovered that dark colors typically require 20-30% more drying time due to higher pigment concentration. Navy blue and dark green take the longest to dry among common colors.
Primer Usage
Modern primers, developed in 2024, can reduce overall project time despite adding an extra step. A properly primed surface allows thinner paint application, reducing drying time by up to 40%. Primer creates an ideal surface for paint adhesion, ensuring more consistent drying across the entire project.
Also Read This Blog: The Ultimate Guide to Cottage Style: Creating Timeless Charm in Your Home
Optimal Drying Conditions
Creating the perfect environment for paint drying can reduce project completion time by up to 40%.
Perfect Environment Setup
Research from 2024 shows the ideal painting environment combines temperature control, proper ventilation, and humidity management. Set room temperature between 70-77°F using air conditioning or heating. Install a dehumidifier to maintain 45-50% humidity levels. Open windows on opposite sides of the room for cross-ventilation, but use window screens to prevent debris from settling on wet paint. Position work lights at 45-degree angles to spot imperfections early.
Professional Tips for Perfect Results
Professional painters shared their top secrets in a 2024 industry survey. Start painting early in the day when temperatures are stable. Apply thin, even coats using high-quality brushes or rollers. Test paint dryness in inconspicuous areas before second coats. Plan painting projects during seasons with moderate temperatures and low humidity. Monitor weather forecasts for optimal painting conditions.
Speeding Up Drying Time
Recent advancements in paint technology have revealed safe methods to accelerate drying.
Safe Acceleration Methods
Paint manufacturers in 2024 approved these acceleration techniques:
| Method | Time Reduction | Safety Level |
| Dehumidifier | 30% | Very Safe |
| Fans | 25% | Safe |
| Air Conditioning | 20% | Very Safe |
| Space Heaters | 15% | Use with Caution |
Using Fans and Ventilation
Professional guidelines updated in 2024 recommend specific fan placement strategies. Position floor fans at 45-degree angles to walls, creating air circulation patterns that don’t directly hit wet paint. Use ceiling fans on low speed to circulate air downward. Keep doors open to maintain airflow throughout the space.
Common Mistakes to Avoid
Recent paint failure analysis reveals the most damaging mistakes. Never use direct heat sources like hair dryers. Avoid painting in extreme temperatures. Don’t rush between coats. Skip unauthorized drying agents or additives. These shortcuts often lead to paint failure requiring complete repainting.
Troubleshooting
Paint manufacturers report that 80% of all paint failures stem from improper drying conditions.
Identifying Drying Problems
Common issues include tackle streaks, bubbles, and uneven drying patterns. Check paint surface temperature with an infrared thermometer. Watch for signs of improper curing like tackiness after 24 hours. Document drying conditions including temperature and humidity for warranty claims.
Solutions for Common Issues
Modern paint technology offers solutions for various drying problems:
| Issue | Solution | Prevention |
| Tacky Surface | Increase Ventilation | Check Humidity |
| Bubbles | Sand and Recoat | Proper Application |
| Uneven Drying | Balance Environment | Monitor Conditions |
Professional vs. DIY Considerations
Understanding your skill level and project scope determines success.
When to Call a Professional
Industry standards from 2024 suggest professional help for projects involving:
- Exterior surfaces over two stories
- Historical restorations
- Commercial spaces
- Complex color changes
- Large surface areas
DIY Success Tips
A 2024 study of successful DIY projects reveals key factors for success. Start with smaller projects to build experience. Invest in quality tools and materials. Follow manufacturer guidelines strictly. Document each step with photos. Maintain consistent application techniques throughout the project.
Safety Considerations
Paint safety standards have evolved significantly since 2020.
Ventilation Requirements
Modern safety guidelines specify minimum ventilation rates of 6 air changes per hour during painting and drying. Use exhaust fans rated for paint fumes. Keep windows open when possible. Monitor air quality with VOC meters. Create cross-ventilation patterns in work areas.
Health Precautions
Updated safety protocols from 2024 emphasize personal protection. Wear organic vapor respirators rated for paint fumes. Use nitrile gloves for skin protection. Take regular breaks in fresh air. Keep first aid supplies nearby. Monitor for symptoms of paint fume exposure. Maintain emergency contact information on site.
Frequently Asked Question
How long before I can apply a second coat?
Wait at least 24 hours before applying a second coat of oil-based paint. In high humidity or cold temperatures, extend this time to 48 hours. Test the first coat’s dryness by gently pressing in an inconspicuous area – if it leaves a fingerprint, wait longer.
Can I sleep in a room with drying oil-based paint?
No, do not sleep in a room with drying oil-based paint. The fumes release harmful volatile organic compounds (VOCs) for 24-48 hours. Wait at least 3 days with proper ventilation before sleeping in a freshly painted room.
What happens if it rains after painting?
Rain exposure before oil-based paint is touch-dry (6-8 hours) will damage the finish. Water spots, streaking, and uneven drying will occur. If rain is forecast, wait for clear weather or ensure painted surfaces are protected.
How can I tell if oil-based paint is completely dry?
Test for complete drying by pressing your fingernail gently into an inconspicuous area. If no mark appears and the surface feels hard, the paint is dry. Also check for any tacky feeling or paint odor – these indicate incomplete drying.
What’s the minimum temperature for oil paint to dry properly?
The minimum temperature for oil-based paint to dry properly is 50°F (10°C). Below this temperature, the paint becomes too thick and won’t cure correctly. Optimal drying occurs between 70-90°F (21-32°C).
Conclusion
Understanding oil-based paint drying times saves you from costly mistakes and ensures professional results. By following proper temperature, humidity, and ventilation guidelines, you’ll achieve a durable, beautiful finish. Remember that patience during the drying process pays off with long-lasting results. While drying times vary by conditions, allowing adequate time for each coat and full cure creates a superior finish that will protect and beautify your surfaces for years to come.

