October 2, 2024
Have you ever admired the timeless charm of weathered, antique furniture? The good news is, you don’t have to spend a fortune on authentic vintage pieces to get that look.
By learning How to Distress Furniture?, you can easily achieve that coveted aged and rustic style right at home. This guide will walk you through the process of creating beautiful distressed furniture that adds character and charm to any space.
Why Distress Furniture?
Distressing furniture has become increasingly popular in recent years. It’s a way to add personality and history to your home decor. The aged furniture look can blend seamlessly with various design styles, from farmhouse to shabby chic. By learning how to distress furniture, you can transform ordinary pieces into unique, eye-catching focal points.
When you distress furniture, you’re essentially creating a furniture patina that mimics years of use and wear. This technique can breathe new life into old, outdated pieces or give new furniture a vintage charm. It’s a cost-effective way to achieve a high-end, curated look without breaking the bank.
Getting Started: Materials You’ll Need
Before we dive into the process of how to distress furniture, let’s gather the necessary materials. Here’s what you’ll need for your DIY furniture makeover:
- Sandpaper for distressing (various grits)
- Paint (chalk paint works well)
- Paintbrushes
- Steel wool for distressing
- Candle wax for distressing (optional)
- Polyurethane finish
- Furniture stain (optional)
- Protective gear (gloves, dust mask)
- Drop cloth
Having these items on hand will ensure a smooth process as you learn how to distress furniture. Remember, the key to a successful project is preparation. Now, let’s move on to the step-by-step process.
Step-by-Step Guide on How to Distress Furniture

1. Prepare Your Workspace
Before you start distressing furniture, set up a well-ventilated area. Lay down a drop cloth to protect your floor. Put on your protective gear. Good preparation is crucial when learning how to distress furniture. It ensures safety and makes cleanup easier.
Read This Blog : Barndominium Kitchen Ideas for Modern Farmhouse Style
2. Clean and Sand the Piece
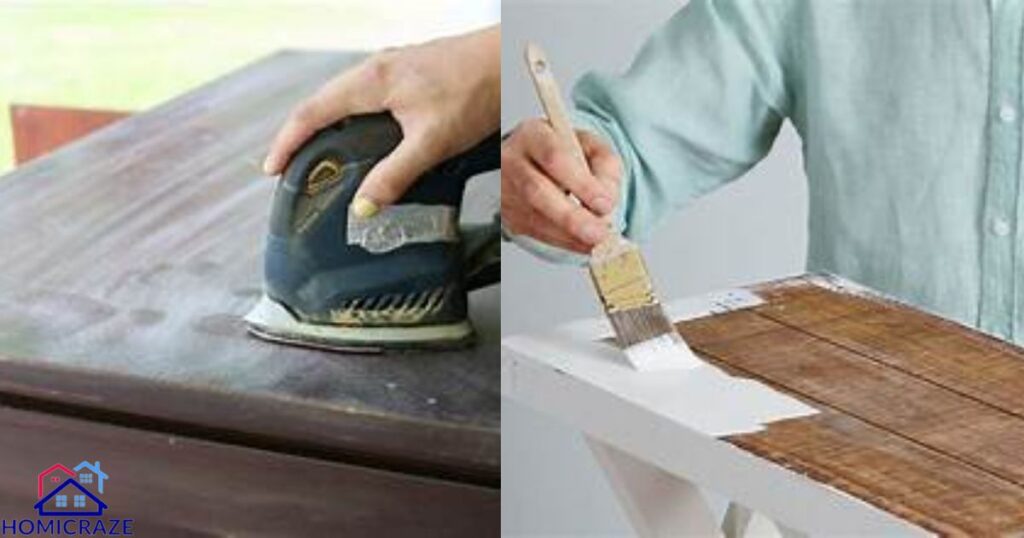
Start by cleaning your furniture piece thoroughly. Remove any dirt or grime. Next, use sandpaper for distressing to rough up the surface. This helps the paint adhere better. If you’re working with painted furniture, sand off any loose paint.
3. Apply the Base Coat
Now it’s time for painting furniture. Choose a color that will peek through your top coat. Apply the base coat evenly. Let it dry completely. This step is crucial in how to distress furniture as it creates depth in the final look.
4. Optional: Apply Candle Wax
If you want to try the candle wax distressing technique, now’s the time. Rub candle wax on areas where you want the base coat to show through. This creates a candle wax paint resist effect. It’s an interesting variation in how to distress furniture.
5. Apply the Top Coat
Next in our guide on how to distress furniture is applying the top coat. Choose a color that contrasts with your base coat. This creates a beautiful two-tone paint technique. Apply the paint evenly and let it dry completely.
6. Distress the Furniture
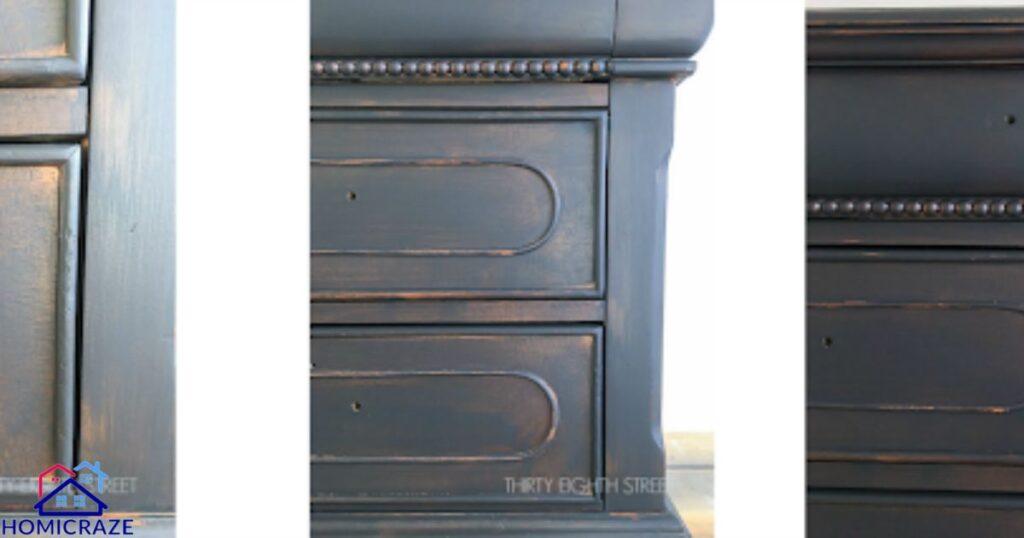
Now comes the fun part of how to distress furniture – the actual distressing! Use sandpaper for distressing or steel wool for distressing to remove paint in strategic areas. Focus on edges and high-use areas for a natural look. This creates that coveted distressed wood finish.
7. Optional: Apply Stain
For an extra aged look, consider applying a furniture stain. This step in how to distress furniture can add depth and richness to your piece. Apply the stain with a cloth, working it into the distressed areas.
8. Seal the Piece
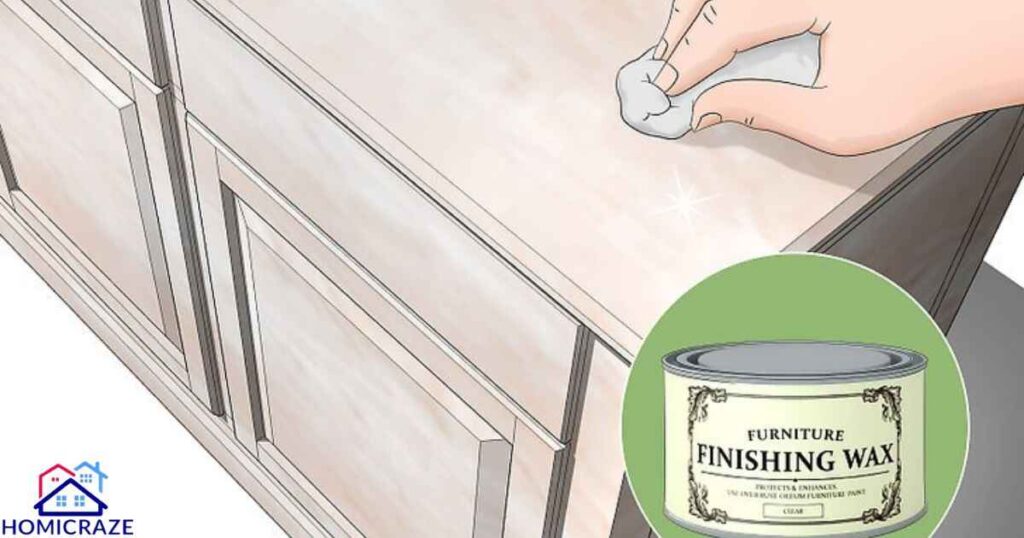
The final step in how to distress furniture is sealing. Apply a polyurethane finish to protect your work. This step is crucial for protecting furniture with polyurethane. It ensures your distressed piece will last for years to come.
Advanced Techniques in How to Distress Furniture

Once you’ve mastered the basics of how to distress furniture, you might want to try some advanced techniques. These methods can create unique effects and add depth to your distressed furniture.
Layered Paint Effect
The layered paint effect is a popular technique in how to distress furniture. It involves applying multiple layers of different colored paints. Then, you selectively sand away the top layers to reveal the colors underneath. This creates a beautiful, complex finish that mimics years of repainting.
Chalk Paint Distressing
Chalk paint distressing is another great method for how to distress furniture. Paint adheres well to most surfaces without priming. It also sands off easily, making it perfect for creating a distressed look. You can create a soft, matte finish that’s perfect for vintage-style pieces.
Also Read This Blog : Barndominium Kitchen Inspiration: Rustic Meets Contemporary
Bare Wood Exposure
For a more rustic look, try the bare wood exposure technique. This method of how to distress furniture involves sanding away paint to reveal the natural wood underneath. It works particularly well on pieces with beautiful wood grain.
Tips for Success in How to Distress Furniture
As you practice how to distress furniture, keep these tips in mind:
- Always work in a well-ventilated area.
- Use a variety of distressing tools for different effects.
- Start with light distressing – you can always add more.
- Pay attention to where natural wear would occur.
- Don’t forget to seal your work for longevity.
Remember, how to distress furniture is as much an art as it is a technique. Don’t be afraid to experiment and find your own style.
Frequently Asked Question
How to distress furniture for beginners?
Beginners can start by sanding edges and corners of painted furniture, then applying a dark wax or glaze. Focus on areas that would naturally wear over time.
What kind of paint is used for distressing furniture?
Chalk paint is ideal for distressing furniture. It adheres well to most surfaces without primer and sands off easily to create a distressed look.
How to make furniture look distressed without sanding?
Use a candle wax resist method. Apply wax to areas you want distressed before painting. Once dry, rub off paint over the wax for a worn look.
How to distress furniture using vinegar?
Mix vinegar with steel wool and let it sit overnight. Apply this solution to wood furniture for an instant aged, weathered appearance.
How do you distress wood easily?
Use a combination of sandpaper and steel wool to remove paint or stain in strategic areas. Focus on edges and high-use areas for a natural distressed look.
What tools do you need for distressing furniture?
Essential tools include sandpaper, steel wool, paintbrushes, wax or polyurethane for sealing, and optionally, chalk paint and candle wax for specific techniques.
Conclusion
Learning how to distress furniture opens up a world of creative possibilities. It allows you to transform ordinary pieces into unique, character-filled focal points. Whether you’re aiming for a subtle aged wood effect or a heavily distressed look, these techniques can help you achieve your vision.
Remember, the key to successful furniture distressing is patience and practice. Don’t be discouraged if your first attempt isn’t perfect. Each piece you distress will teach you something new about the process. Soon, you’ll be a master at how to distress furniture, creating beautiful, aged pieces that add charm and personality to your home.
So go ahead, grab that old dresser or side table, and start your journey into the world of distressed furniture. With these techniques and a bit of creativity, you’ll be amazed at what you can create. Happy distressing!


